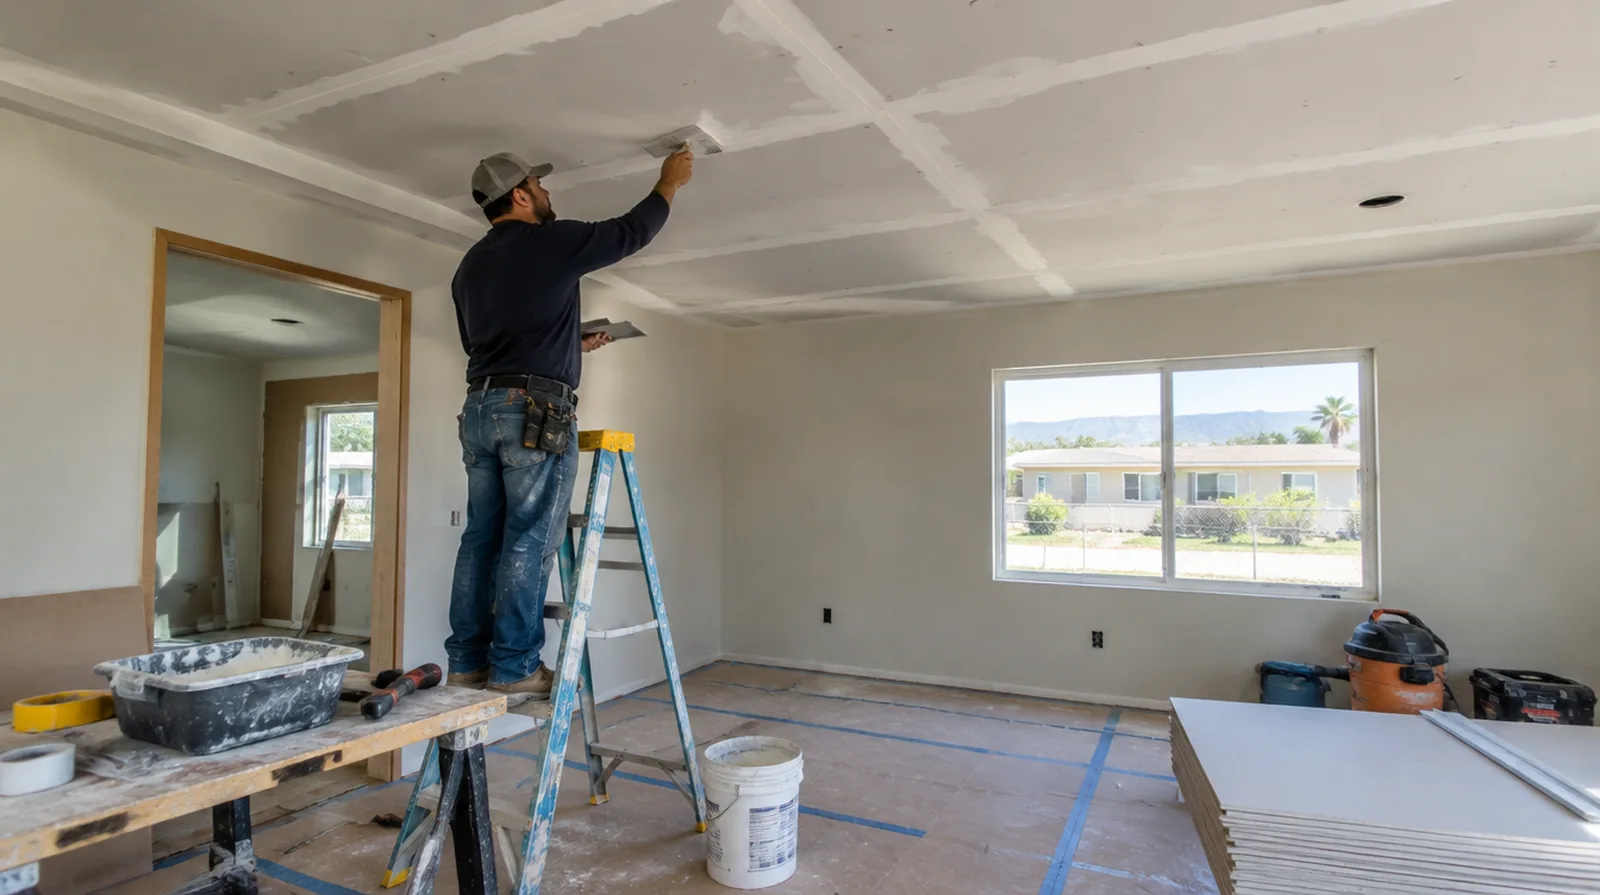
Identify the existing surface
Check whether the overhead finish is gypsum board, plaster or a mixture of older layers. The right repair depends on that actual construction rather than the color of its painted face. When panel replacement exposes a cavity, resolve any required inspection before that opening is closed and the finishing work begins.
Address isolated stains
A dry repaired ceiling may still need a compatible stain blocking primer before decorative paint. Primer selection depends on the remaining discoloration and should never be used to conceal active moisture. If the completion date matters most, allow for intervals between coats as well as active labor rather than assuming the entire process happens continuously.
Plan overhead access
Ceiling height and furniture layout influence the platform and protection needed for safe working access. Large fixtures and delicate flooring can affect setup time more than the size of the damaged spot. If access passes through a shared space, arrange protection and a delivery route that do not unnecessarily obstruct other occupants.
Separate fixtures from board work
Electrical fittings, sprinkler components and mechanical grilles can involve other trades or building approvals. Clarify who disconnects and reinstalls anything that interferes with access to the damaged area. If the existing finish is unusual, keep a small reference sample or a close photograph to support the discussion about blending and restoration.
Evaluate sagging sections
A sagging ceiling needs its supports, fixings and damaged materials assessed, not simply smoothed. Keep people away from an unstable area while the appropriate professional evaluates it. When a wall has repeated defects, keep a record of earlier repair attempts so a new assessment does not simply repeat an unsuccessful approach.
Set the repainting scope
A small fresh white patch can stand out against an older ceiling even when the surface is level. A broader repaint to a logical room boundary can provide a more even decorative result. Where flooring is staying in place, agree on protective coverings and check that tools and material handling will not damage the visible finish.
Cut back to sound material
Water softened gypsum and loose edges do not provide a dependable base for a new patch. Cut to a stable boundary that also permits secure fixing and an effective finishing blend. When the same defect has returned, share information about previous repair methods so the next assessment can consider why they did not last.
Treat the joints overhead
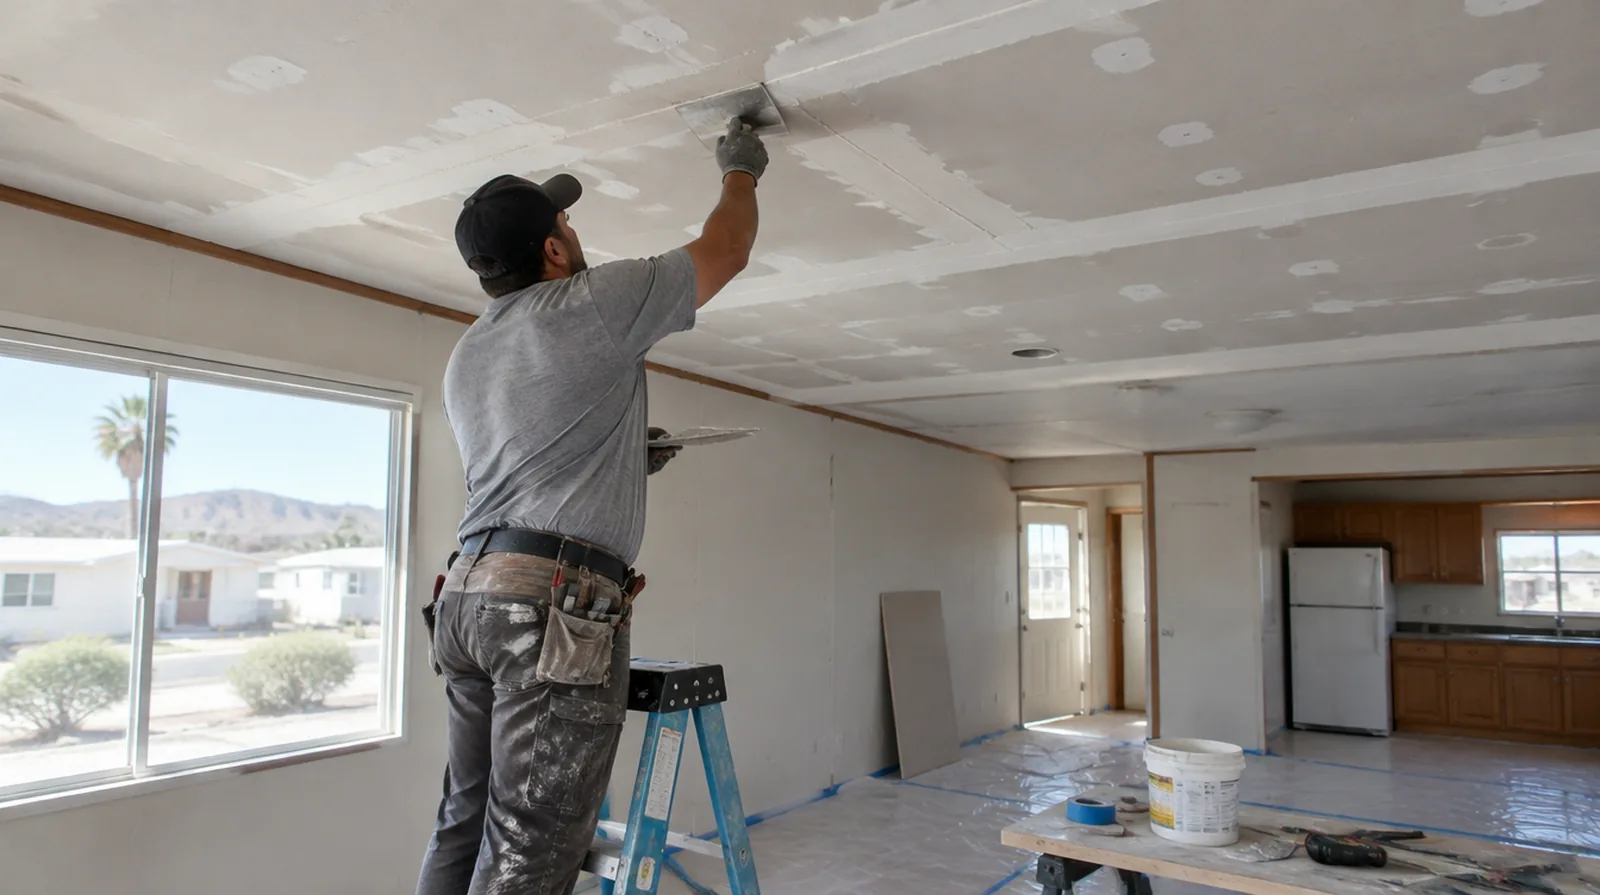
Tape and compound reinforce the patch boundary while successive coats build a broad shallow blend. Because windows often light ceilings obliquely, a narrow raised blend can remain conspicuous. For a room that stays in use, set a workable boundary around construction while retaining the access people need for normal daily activities.
Discuss texture expectations
Determine whether the restored area ought to be smooth or carry an existing decorative pattern. An agreed sample can show the likely limits of a local texture blend before the full repair proceeds. If the proposal requires return visits, identify the purpose of each stage and the intervals during which finishing material needs to remain undisturbed.
Add reliable backing
A ceiling patch needs fastening support on its edges rather than relying on compound to carry its weight. Matching the thickness of the board helps avoid a visible step between old and new surfaces. If the room will remain occupied, identify a practical separation between the project space and the space that still needs daily access.
Project context in Hemet
Repainting the full wall after a texture repair helps hide differences in decades of layered paint. Evaporative cooler leaks are a common source of ceiling stains in older Hemet homes.
Scope questions before finishing
If the room will remain occupied, identify a workable separation between the project space and the space that still needs daily access.
If the coating stability is unclear, assess which layers are adequately bonded and which should be removed instead of simply hidden beneath new material.
Where a finished perimeter is prominent, decide whether trim stays in position or is removed before agreeing how the new surface meets that edge.
For walls beside bright windows, review a dry sample from an oblique angle as well as looking straight at the repaired surface.
Where the wall meets fixed furniture, clarify whether removal is included or whether the finish will terminate at the accessible edge.
At a repair beside an opening, allow clearance for moving board through the doorway and space to use the finishing tools effectively.
When more damage could be hidden, ask how any added scope will be documented before extra material is removed or replaced.
When panel replacement exposes a cavity, resolve any required inspection before that opening is closed and the surface finishing begins.
If the surface condition is uncertain, allow for an assessment that can distinguish stable material from layers that should not be covered.
When concealed damage is possible, establish how additional findings and any proposed removal will be recorded before the scope changes.
If an independent painter completes decoration, agree the condition of the handed over surface and assign responsibility for small final corrections.
For a project involving a building manager, confirm access hours and protection requirements before promising a start date or a short completion window.
Explore the Hemet drywall overview for related options, or read the project planning information before arranging the next stage.
More planning details for Hemet
Manufactured homes in Hemet may use thinner or vinyl-covered panels, which can call for panel replacement instead of a patch. Flat, wide Hemet lots usually make unloading board straightforward with a nearby carport or garage. Hot, dry San Jacinto Valley summers shrink thick compound, so thinner coats work better here.