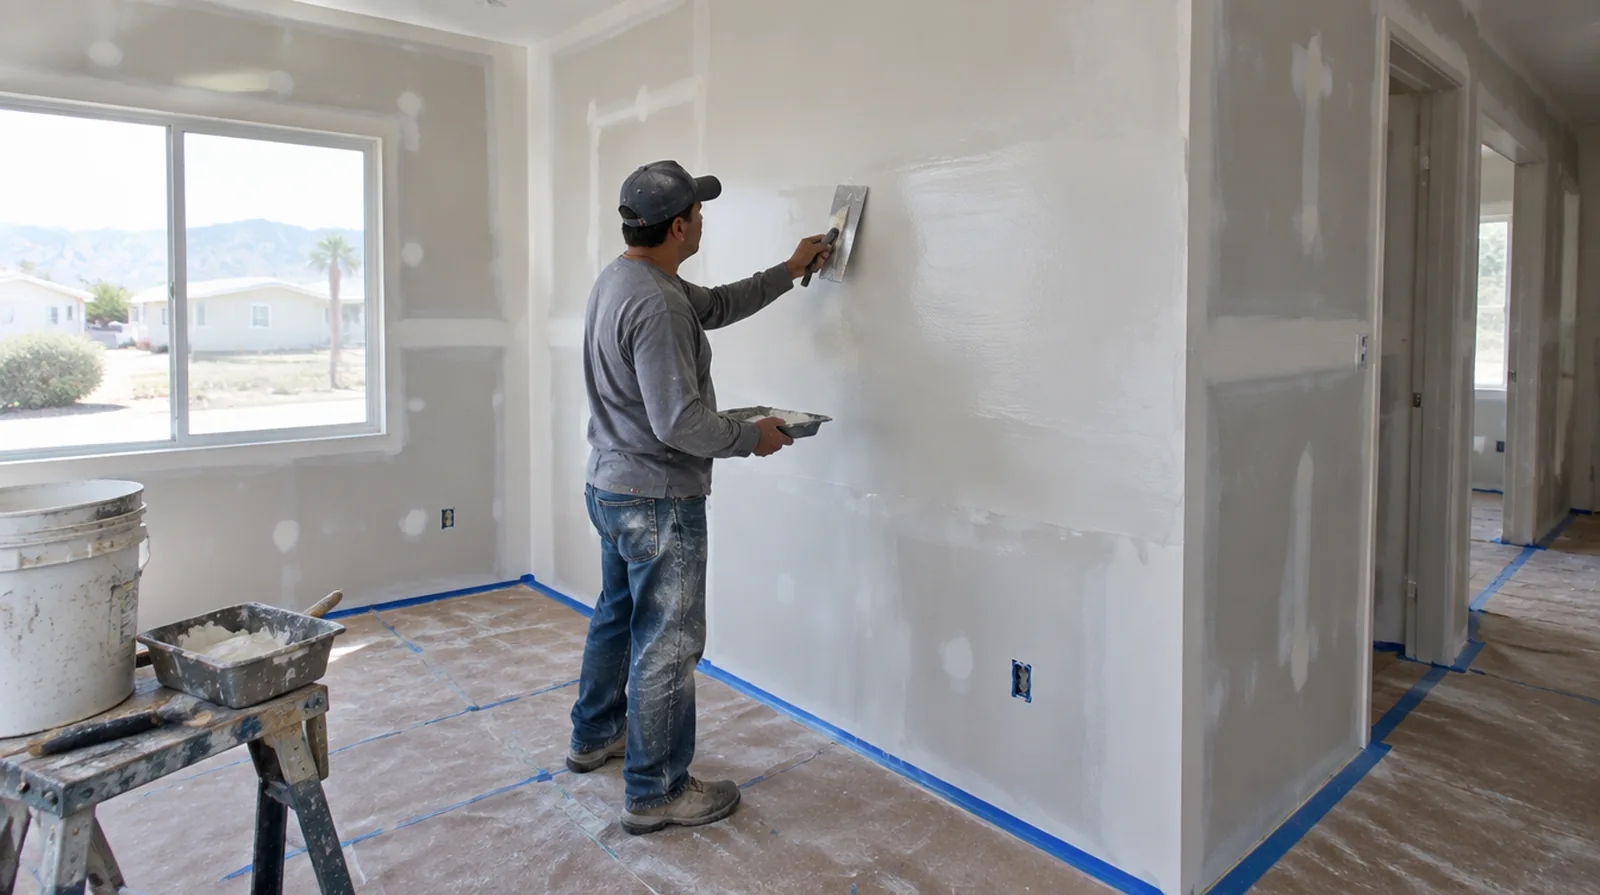
Work around trim carefully
Protect the junctions around frames, baseboards and fittings while planning how the new surface will meet them. Decide whether trim removal is needed or whether a neat stop against it is acceptable. For a project with several trades, agree which inspection or handover point must happen before the next person starts work.
Prime before decoration
The new skim needs compatible priming before its final decorative coatings. Primer helps equalize absorption and may reveal small touch ups that should be resolved before the final coat. At the handover inspection, review the finish from ordinary room positions using the lighting conditions that were agreed for the work.
Refine with minimal sanding
Good application reduces the amount of sanding needed to achieve a uniform finish. Dust control should still be planned because broad wall work may create fine airborne particles. If the completion date matters most, allow for intervals between coats as well as active labor instead of assuming the entire process happens continuously.
Apply controlled thin layers
A skim coat is intended to refine the surface rather than build a heavy unsupported layer. More than one pass may be necessary where the original texture creates deeper low points. When concealed damage is possible, establish how additional findings and any proposed removal will be recorded before the scope changes.
Define the smoothing target
Removing the visual effect of light texture is not the same task as straightening a badly uneven plane. Describe the expected improvement and any retained wall variation in the agreed finish scope. For a wall receiving a decorative covering, provide its preparation requirements early enough for the drywall finish to support that product.
Check underlying movement
A skim coat improves the surface profile but does not repair structural movement or unstable board. Assess recurring cracks and complete necessary reinforcement before covering the area with a skim. If the wall surface work belongs to a broader renovation, coordinate its order with flooring, cabinetry and trim rather than scheduling finishing in isolation.
Assess the existing coating
A thin new finish depends on the strength of the coating that will remain underneath it. The assessment should distinguish a sound but uneven surface from one that is actively peeling. While a removed panel exposes the wall cavity, complete the necessary review of concealed work before replacement board closes the opening.
Clean and prepare the wall
Dust, grease and incompatible residues can interfere with adhesion. Preparation may include cleaning and a suitable bonding treatment based on the condition of the current surface. When the history of a repair is uncertain, note when it became visible and whether its appearance has altered across different seasons.
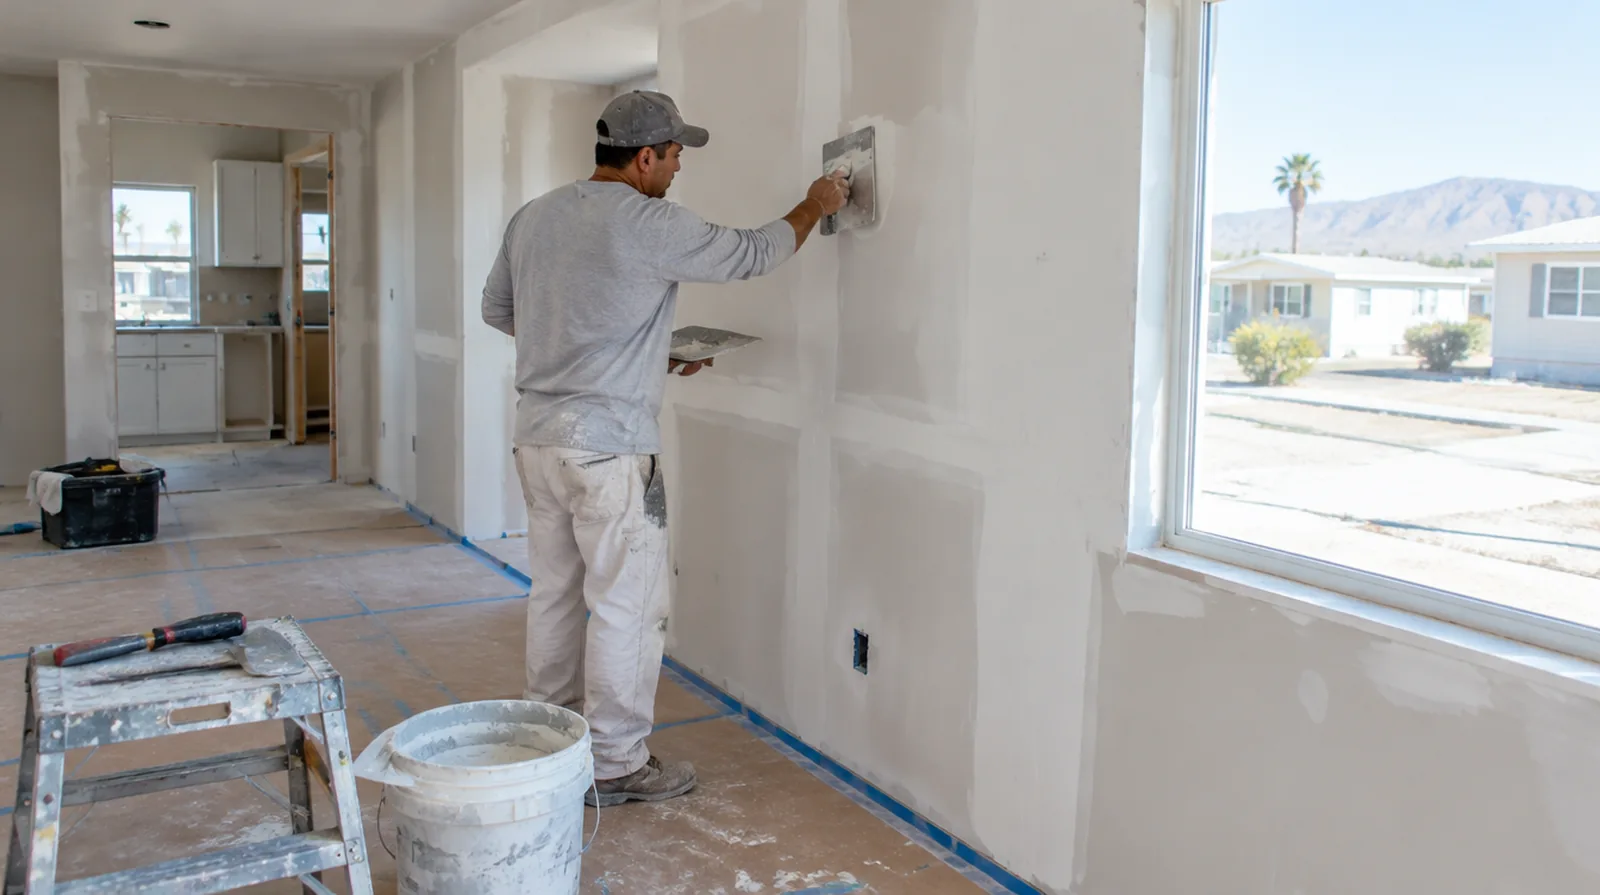
Let each coat dry
Room temperature, humidity and airflow influence time needed for drying across a broad coated surface. A rushed next coat can drag or disturb material that has not set up sufficiently. For a small repair with extensive setup, compare the total scope rather than assuming the price should follow the hole dimensions alone.
Inspect using side light
Check the dried surface with light crossing it as well as light facing it directly. The review should reflect the conditions that will matter when the space returns to everyday use. Where a neat final edge matters, agree whether the finish ends against existing trim or whether that trim will be removed and replaced.
Project context in Hemet
A closed garage in a Hemet summer gets very hot, so compound is better stored indoors. Evaporative cooler leaks are a common source of ceiling stains in older Hemet homes.
Scope questions before finishing
If the project is part of a larger remodel, settle the sequence with flooring, trim and cabinet work before setting a final finishing date.
If the completion date matters most, allow for intervals between coats as well as active labor rather than assuming the entire process happens continuously.
When the project space includes a doorway, check the clearance for panel movement as well as the amount of space available for finishing tools.
Where existing floors will remain, specify protective measures and review the path used by panels, equipment and finishing tools.
If the decorative coating is already chosen, share its sheen and color early because those choices influence how surface preparation is judged.
When the history of a repair is uncertain, note when it became noticeable and whether its appearance has altered across differing seasons.
When panel replacement exposes a cavity, resolve any required inspection before that opening is closed and the finishing work begins.
For a tightly furnished room, plan temporary storage and the minimum working clearance before material is carried into the property.
Where a neat final edge matters, agree whether the finish ends against existing trim or whether that trim will be removed and replaced.
If the ceiling or wall includes fittings, identify the person responsible for removing and reinstalling each item before the work begins.
Where light reflects along the wall, inspect the complete plane instead of limiting the review to the edge immediately next to the repaired section.
When concealed damage is possible, establish how additional findings and any proposed removal will be recorded before the scope changes.
Explore the Hemet drywall overview for related options, or read the project planning information before arranging the next stage.
More planning details for Hemet
Many Hemet homes are single-story with sprayed knockdown walls that need a test patch before texturing the repair. Flat, wide Hemet lots usually make unloading board straightforward with a nearby carport or garage. Age-restricted communities around Hemet may have gate rules, visitor parking limits and quiet hours.